I have actually never read someones trip report before and I came across yours. I love it. I wish this is something I would have done to commemerate our past experiences, something I will definately do when we return from our September trip, if I can figure out how to post pictures.

First, if you haven't already, make an account at photobucket or any other image sharing site (photobucket is the popular one around these parts)
Second, click the "Upload Images and Videos" button, if you have a lot of images, you can use the bulk uploader (which I think is better
")
)
Third, browse on your computer to where the pictures are stored, and then select them.
For the normal uploader, you can hold control and click to select multiple files at once. Click "Open" once they are all selected. You may add some information to them all, but that is totally optional.
For the bulk uploader, click the images you want to share. Note that in the "Add descriptions & upload" section, you may rotate any that need rotating. You should also check out the "max image size" options ("more options" and set it to something reasonable. Large (640x480) works great with the forums, otherwise the 17" screen (1024x768) works too (they're a bit big, but not horribly so). When finished, click Upload.
Wait for them to finish uploading...
Go to the album where you saved them, it may auto put you there, I'm not sure (I don't have any albums

).
Now, there are two ways to do this. If doing it one by one:
Mouseover the image (that is, hover the mouse cursor over the image) you want to share, and a small.. um.. thing should pop out of the bottom. In that you will see a selection for "IMG". Click in that box.
Either Right Click and choose copy, or hit Control-C to copy the tag.
Now, go to your post (or whatever your writing up the post in...) and either Right Click and choose "Paste" or hit Control-V to paste the tag.
Repeat for each image
")
.
If you want to do it en masse:
Again, mouse over the image, only this time, just select the check box in that thingy that pops out.
When you are done selecting, click the "Generate HTML and IMG code" button on the bottom.
Click in either of the "IMG" fields (the 3rd and 4th down). The 3rd one will give you small images that a user will then click to see the full size. The 4th will give you the full size images.
Copy and paste like described above
Ok, I now return you to your regularly scheduled Lisa's TR
.
*I, personally, don't use it. I use my own webhosting stuff that I pay for for my websites. However, I do have an account so will go through it and give the step by step
I understand about the line cutters, they are annoying, I kept having to remind Tim to stand right next to me in those lines because there was always someone trying to slip by.


 ), I'm going to move on without the pictures.
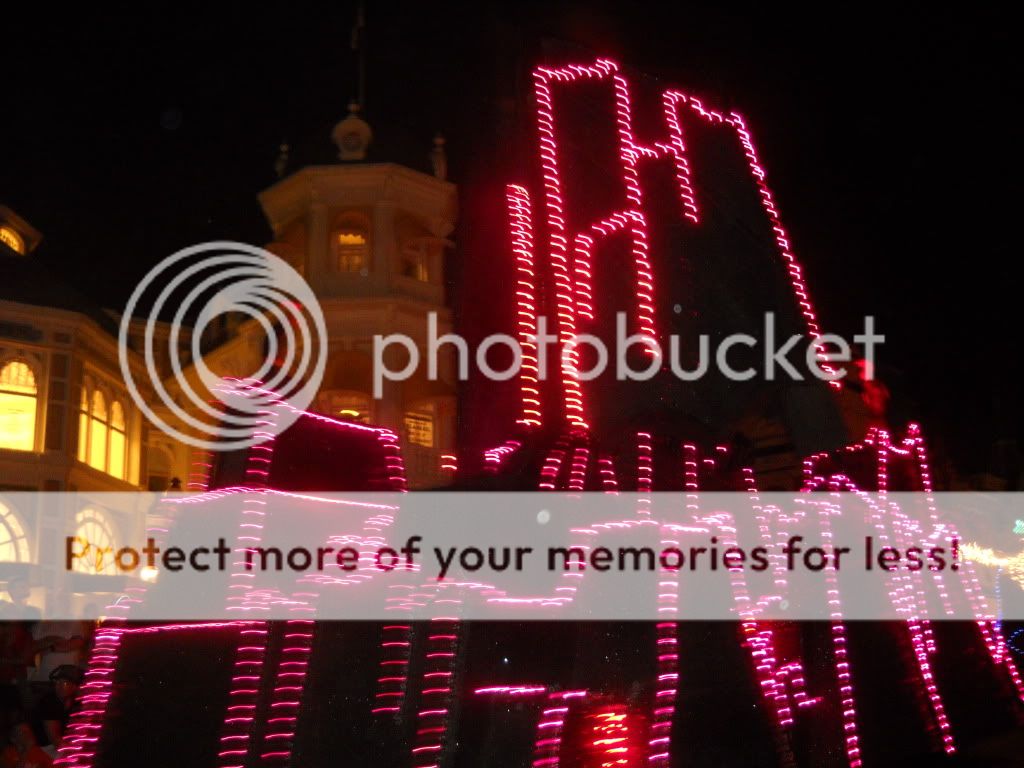
 :rolleyes:") Go on....close your eyes....nobody's looking.
Go on....close your eyes....nobody's looking.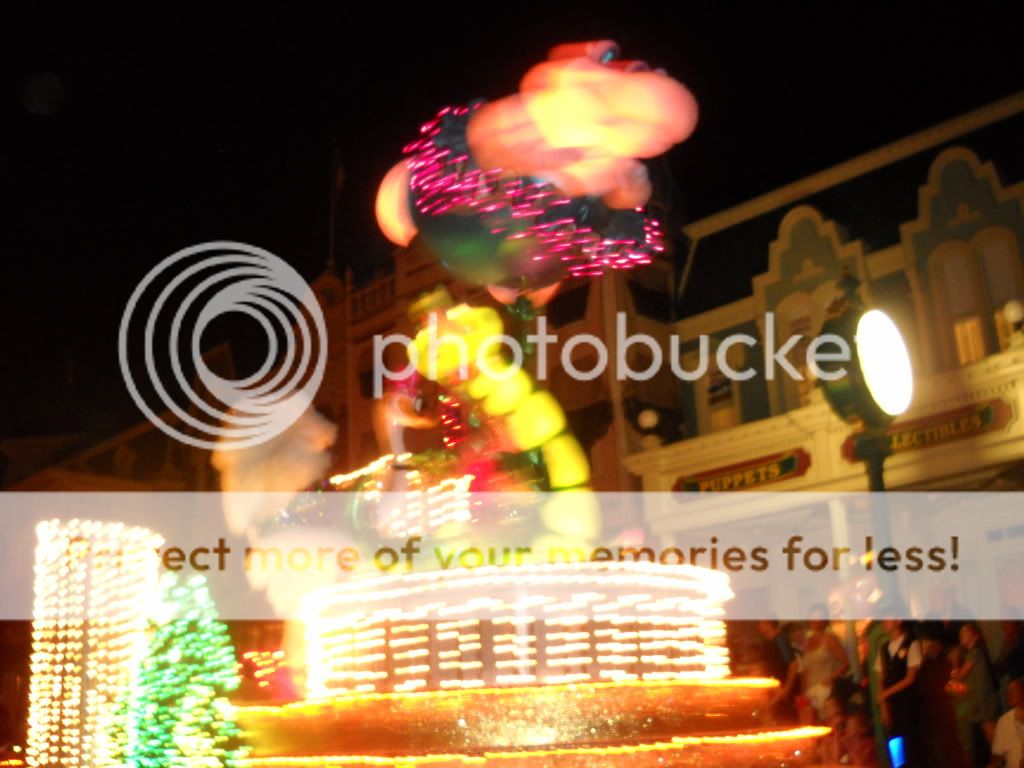


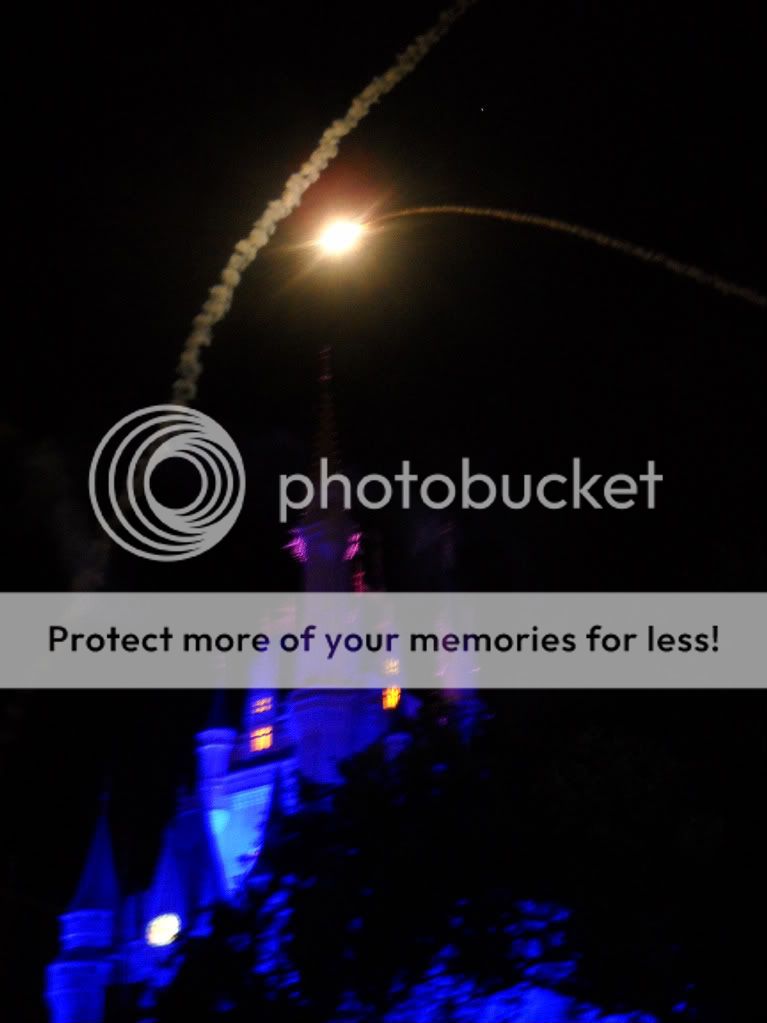
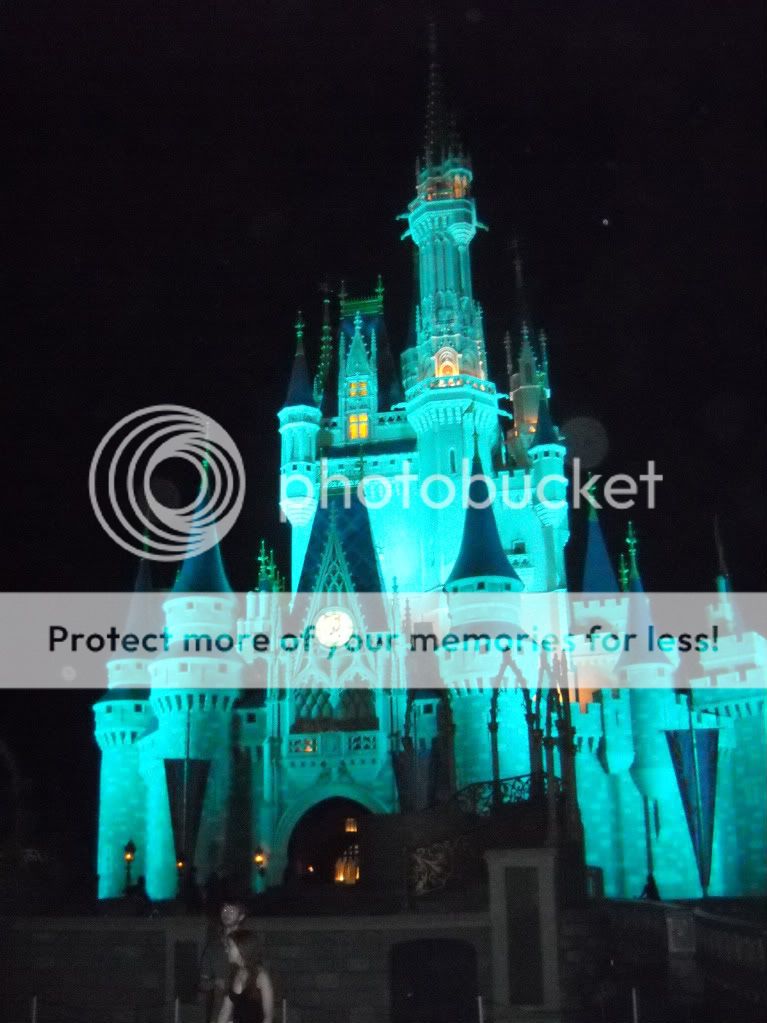
 Pluto's butt!!! Did you notice the 2 little blue lines on it?


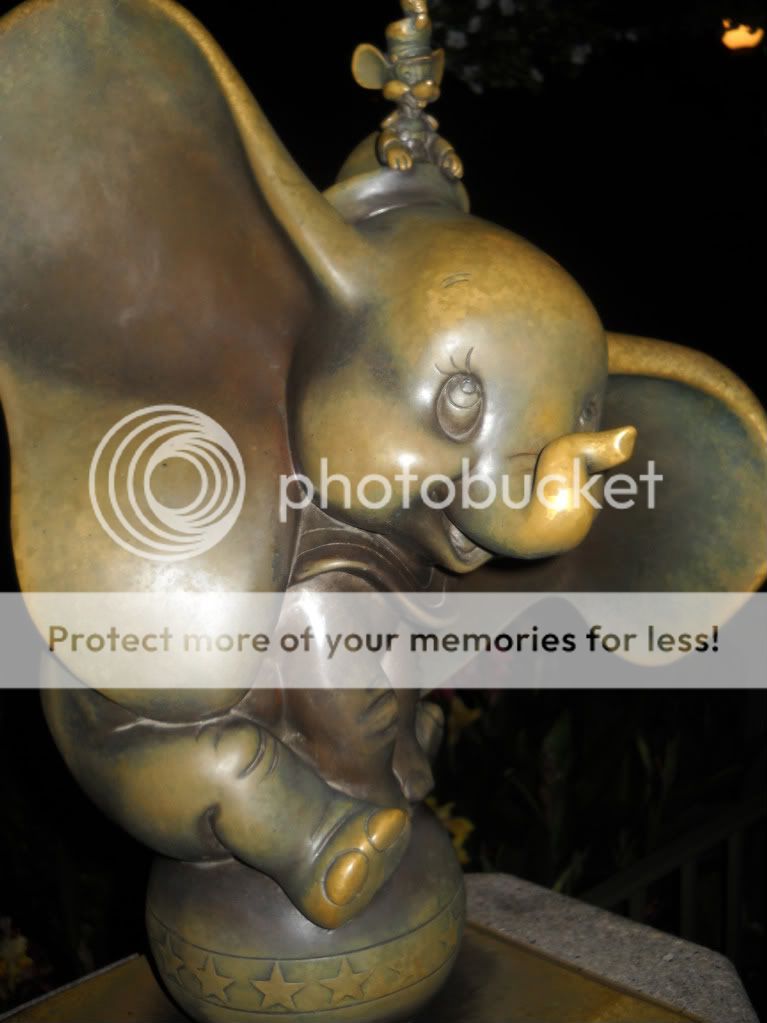
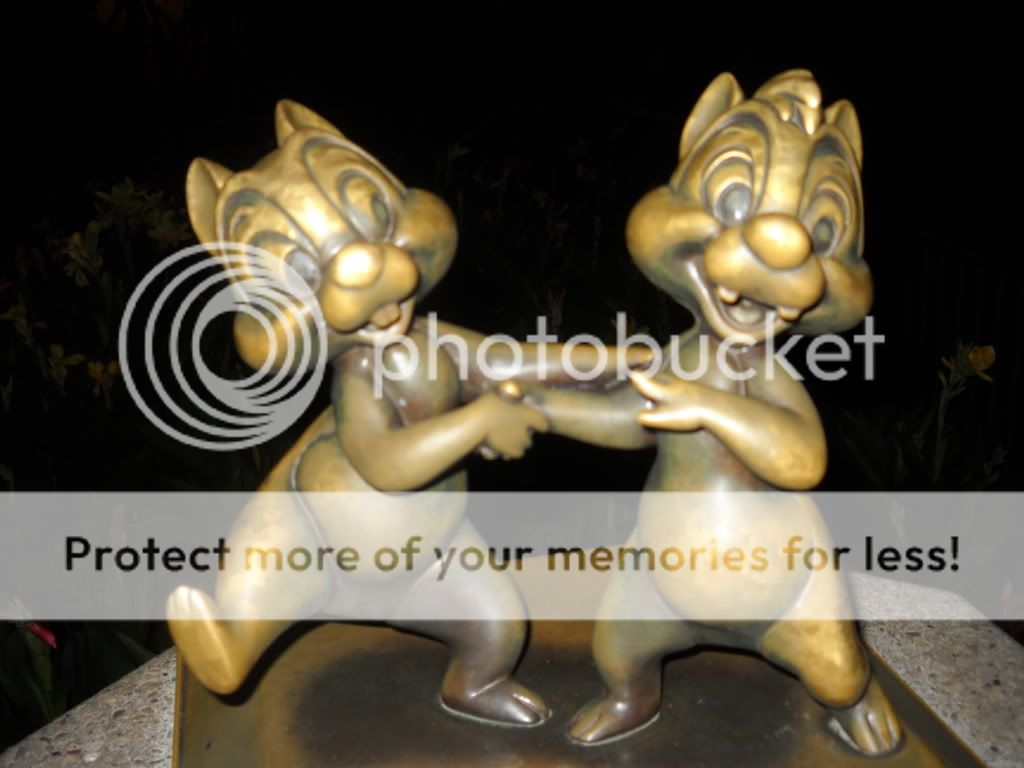
 Oh and darn...I wanted to look for those cute statues on our last trip and forgot!


